
Wooden Kitchen Gadgets: Buy Bare Wood You Can Re-Oil, and the Sets Worth Owning
Buy bare wood you can re-oil, or buy lacquer knowingly. The finish decides whether a wooden gadget lasts five years or looks tired in five months.
By the end, you will know which wood suits which task, how to tell lacquer from oil-only in two minutes, which set matches your kitchen, the care routine that makes the lifespan real, and which jobs belong to silicone instead.
As an Amazon Associate, StyleBloom earns from qualifying purchases. This guide contains affiliate links — it costs you nothing extra and keeps our content free.
The rival guides for this query all describe the same sets and stop short of the same decision. They list teak sets without checking whether the finish is lacquer or oil, they praise wood without giving the care routine the lifespan depends on, and they declare a winner without saying which tasks belong to silicone. This page closes all three gaps: the finish check first, the care routine in full, and the task-by-task plan that keeps wood, silicone, and metal each doing the job its physics suits.
It sits beside the wider gadget plan, not inside it. Our best kitchen gadgets guide holds the full drawer, and our kitchen drawer reset holds the organization method. This page holds the wooden decision only. Check the finish words first if you read nothing else — the finish decides the care, and the care decides the lifespan.
Buy bare wood you can re-oil, or buy lacquer knowingly. That single distinction decides whether a wooden kitchen gadget lasts five years or looks tired in five months, and it is the check almost no buying guide makes first. A wooden kitchen gadget earns its place for three plain reasons: wood is softer than every cookware coating, so it will not scratch nonstick, ceramic, or enamel; it does not conduct heat, so the handle stays cool; and a single piece of hardwood, cared for, outlives the plastic and silicone tools it replaces. But wood is also the only common utensil material that asks something of you in return: hand washing, immediate drying, and oil every few months. This guide makes the finish decision first, compares the woods and the sets honestly, gives you the care routine that makes the lifespan real, and tells you exactly which tasks belong to wood and which belong to silicone or metal. Our best kitchen gadgets guide holds the wider gadget plan; this page is the wooden decision only.
The Woods, Compared: Teak, Acacia, Beech, Olive, and Bamboo
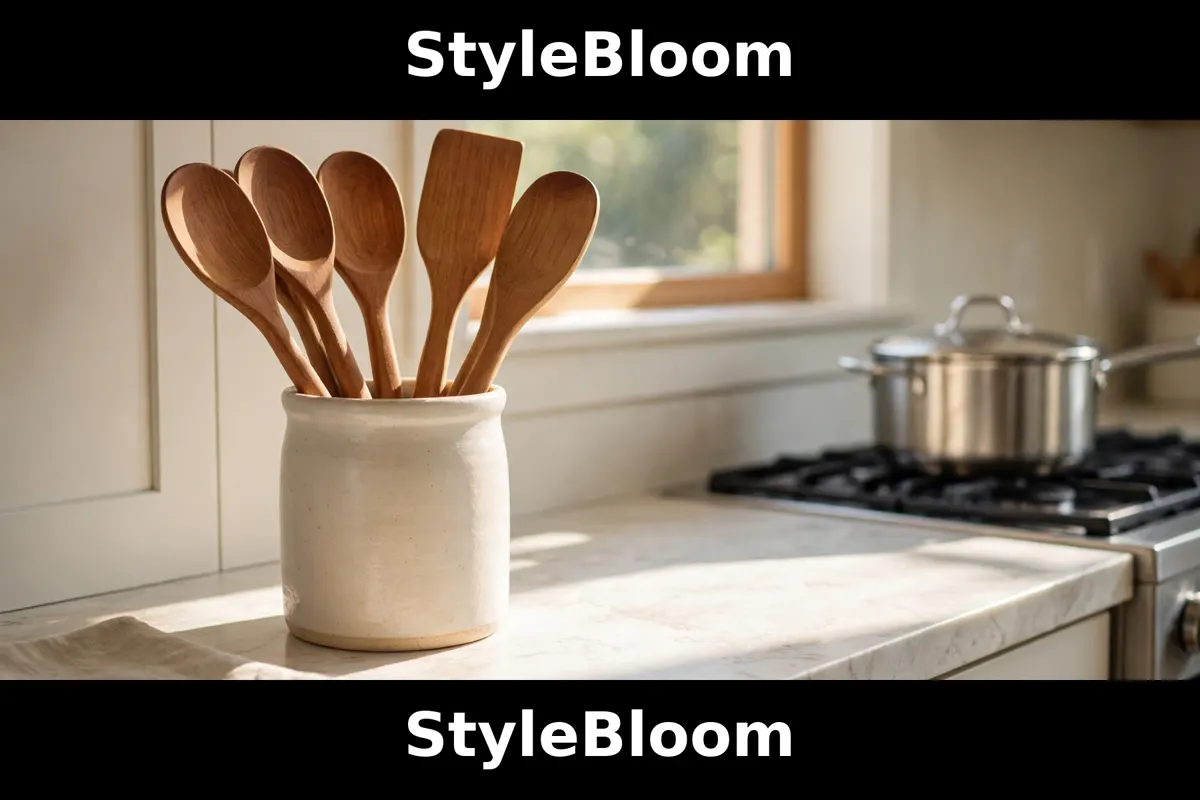
Teak is the default recommendation in this guide, and the reason is in the wood itself. Teak is a close-grained hardwood with a high natural oil content, which means it resists water, resists warping, and stays smooth under heat better than the softer woods, and the sets the testing guides keep naming as best overall are single-piece teak, each tool carved from one solid block so there is no glue joint or seam to fail where the head meets the handle. A teak set is the whole-drawer replacement: spatula, turner, spoons, ladle, server, and tongs in one purchase, and the weight in the hand is the first thing you notice, substantial without being heavy. Its weakness is the finish, which the next section takes apart, and its price tier, which sits above the starter options. If you buy one set and want it to be the last set for years, buy teak, and buy it single-piece.
Acacia is teak's handsome rival: dense, durable, and visibly grained, so the tools look like furniture on the counter, and the acacia sets in the current guides earn their place on looks plus durability rather than on any single technical edge. Beech is the starter wood: lighter in color, lighter in the hand, and the material of the cheapest honest way into wooden tools, a small set of beech spoons with an oil finish that costs less than a takeaway and teaches you whether you enjoy the care routine before you commit to a full set. Olive wood is the connoisseur's wood, dense, beautifully figured, Italian in the sets the guides name, and most importantly the wood most often sold with an oil-only finish you can re-oil at home, which is why it appears in the finish section as the bare-wood pick. Bamboo is not a wood at all but a grass, and it behaves like one: hard, light, and quick to dry, but thirstier than the hardwoods, more prone to splitting where it stays damp, and the material that most needs the drying discipline the care section describes. Buy bamboo for boards and light tools where its lightness helps, and buy hardwood for the tools that stir, scrape, and take heat every day.
Cutting boards belong to the same family and the same routine, and they are where the wood choice shows most. An end-grain board, with the wood fibres standing upright, heals from knife cuts better and stays flatter than an edge-grain board, and it is the board to buy where the budget allows. An edge-grain board is the honest mid-tier: strong, handsome, and easier to find in the sizes a small kitchen needs. Size the board to the work and the sink, because a board that does not fit the sink does not get washed properly, and a board that does not get washed properly is a board that stays damp. Keep two boards where the household cooks meat: one for raw meat and one for everything else, marked differently, washed separately, and never swapped in a hurry. The rolling pin belongs here too, a single piece of beech or maple, wiped clean rather than soaked, oiled with the same routine as the spoons, and stored where nothing rests on it, because a pin stored under a pile develops a flat spot that shows in every pastry.
The construction check matters as much as the species. Single-piece construction means the head and the handle are one block of wood, with zero risk of the head breaking off at a joint, and it is the construction every serious guide selects for. Two-piece tools, head glued or pinned to handle, fail at the joint, and they fail exactly when the tool is loaded, hot, and full of food. Check the listing photographs for a visible seam or a change of grain at the neck, and check the description for the words single-piece or one-piece. A set that does not say it is usually not it. The same photographs tell you the edge story: the working edge of a spatula or turner should look sanded smooth and slightly rounded, because a rough or sharp edge is what marks pans and snags food, and the hand-sanded finish the testing guides praise is visible in the photographs before the box arrives.
The Finish Check Nobody Does: Lacquer vs Oil-Only
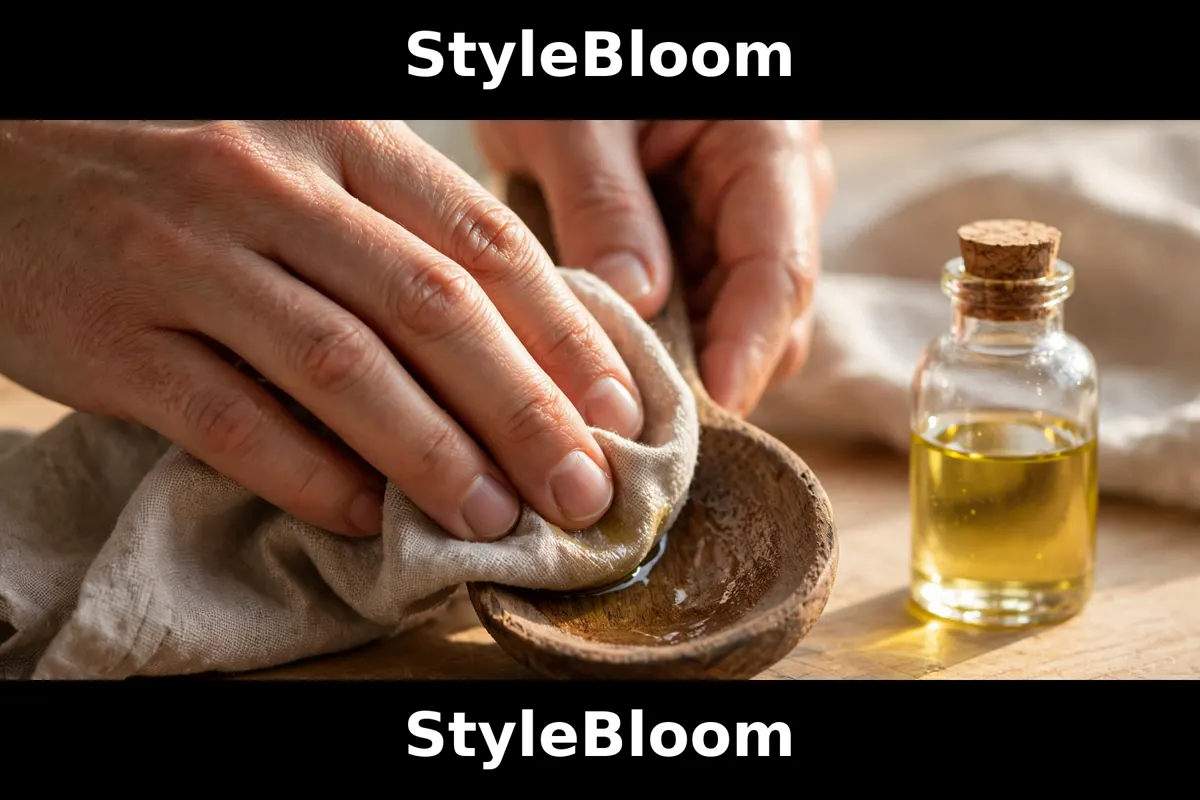
Here is the check the research guides skip and one honest guide states plainly: most of the best-selling teak sets on the big marketplaces are coated in clear lacquer. Lacquer is not a poison and it is not a scandal. It is a hard, glossy coating that looks beautiful in photographs, resists stains at first, and then chips, peels, and flakes under heat, scraping, and washing, and the flakes go where the tool goes, which is into the food. A lacquered set cannot be re-oiled, because the oil cannot reach the wood through the coating, and it cannot be repaired at home without stripping the coating off entirely. If you want bare wood you can maintain for years, look for an oil-only finish, and look for it in words: the listing should say oil finish, food-safe oil, or natural oil, and the photographs should show a matte, satin surface rather than a high gloss. The oil-finished sets the guides name are the beech spoons and the olive wood set, and the thin teak turner is named separately because its thin edge is what makes it the flipping tool wood usually lacks.
The protocol is three steps and takes two minutes. First, read the finish words in the listing, and distrust any listing that says nothing about the finish at all. Second, look at the photographs for gloss: high gloss on every surface means a coating, and a coating on a cooking tool is lacquer until proven otherwise. Third, when the set arrives, run the water test on the back of one handle: a drop of water on bare oiled wood darkens and absorbs slowly, while on lacquer it beads and sits. If the set you bought turns out lacquered and you wanted bare wood, return it before the first use, because a used lacquered set is a set you now own. If you bought lacquer knowingly, use it gently, keep it out of high heat and long soaks, and retire it at the first sign of chipping. Neither choice is wrong. The wrong choice is the one made without knowing.
The finish decision also decides the care decision, because oil-only wood and lacquered wood are maintained differently. Oil-only wood takes food-grade mineral oil or a beeswax conditioner every one to three months, applied thin, left to absorb, and wiped off, which keeps the wood hydrated and prevents the drying, cracking, and splintering that end a wooden tool's life. Lacquered wood takes no oil at all, and oiling it only leaves a sticky film on the coating. Vegetable oil, cooking oil, and olive oil are never the answer for either, because they turn rancid in the wood and leave the tool smelling of old fat. The care section gives the full routine. The point of this section is the order: finish first, then care, because care applied to the wrong finish is wasted work.
The Sets, Compared Honestly
Five kinds of purchase cover nearly every listing, and the table grades each on the facts that decide it: wood, construction, finish, best use, and the weakness the marketing omits. Read the weakness column first, as always.
| Set | Wood / build | Finish | Best use | Weakness |
|---|---|---|---|---|
| 10-piece teak set | Teak, single-piece | Check the listing | Whole-drawer replacement | Many best sellers are lacquer-coated |
| 9-piece teak set + holder | Teak, single-piece | Check the listing | Counter storage included | Holder takes counter space |
| 11-piece teak set | Teak, single-piece | Check the listing | Fullest tool range | Tools you may never use |
| 10-piece acacia set | Acacia, single-piece | Check the listing | Looks + durability | Grain varies; check each piece |
| Beech spoons, small set | Beech | Oil finish | Cheapest honest start | Only spoons; set still needed |
| Olive wood set | Olive wood | Oil-only | Bare wood you re-oil | Higher tier; fewer pieces |
| Thin teak turner | Teak, single piece | Check the listing | Eggs, pancakes, scraping | One tool, not a set |
The 10-piece teak set is the recommendation for most kitchens, because it is the set the longest hands-on test named best overall, it is carved single-piece, its edges are hand-sanded smooth, and it covers the whole drawer: flat spatula, wok spatula, slotted spatula, spaghetti server, serving spoon, mixing spoon, soup ladle, skimmer, oil spoon, and salad fork. The 9-piece teak set with a holder is the same idea plus counter storage, and it suits the kitchen with no drawer space and a clear stretch of counter. The 11-piece set adds tongs, a strainer spoon, and an egg whisk to the same range, and it suits the cook who wants every tool in one purchase, at the cost of two or three tools that may spend their lives in the holder. The acacia set is the choice where the tools live on display, because its grain is the prettiest in the kitchen, and the beech spoons are the choice where the budget or the commitment is still being tested. The olive wood set is the choice where the finish is the whole point: bare wood, oil-only, re-oiled at home for years. The thin teak turner is not a set at all, and it is named because it solves the one job wood usually does badly, which is getting under an egg.
Search by set type and finish, and compare current listings before buying, since bundles and finishes change. The links below search the exact set types on Amazon, so you can check the finish words, the single-piece claim, and recent reviews for chipping before the box arrives. Check three things on every listing: the finish words, the single-piece wording, and whether recent reviews mention lacquer, chipping, or roughness at the edges.
10-piece teak utensil set · Acacia wood utensil set · Olive wood utensils, oil finish · Beech wooden spoons · Thin teak turner
Care: The Five-Minute Routine That Makes the Lifespan Real
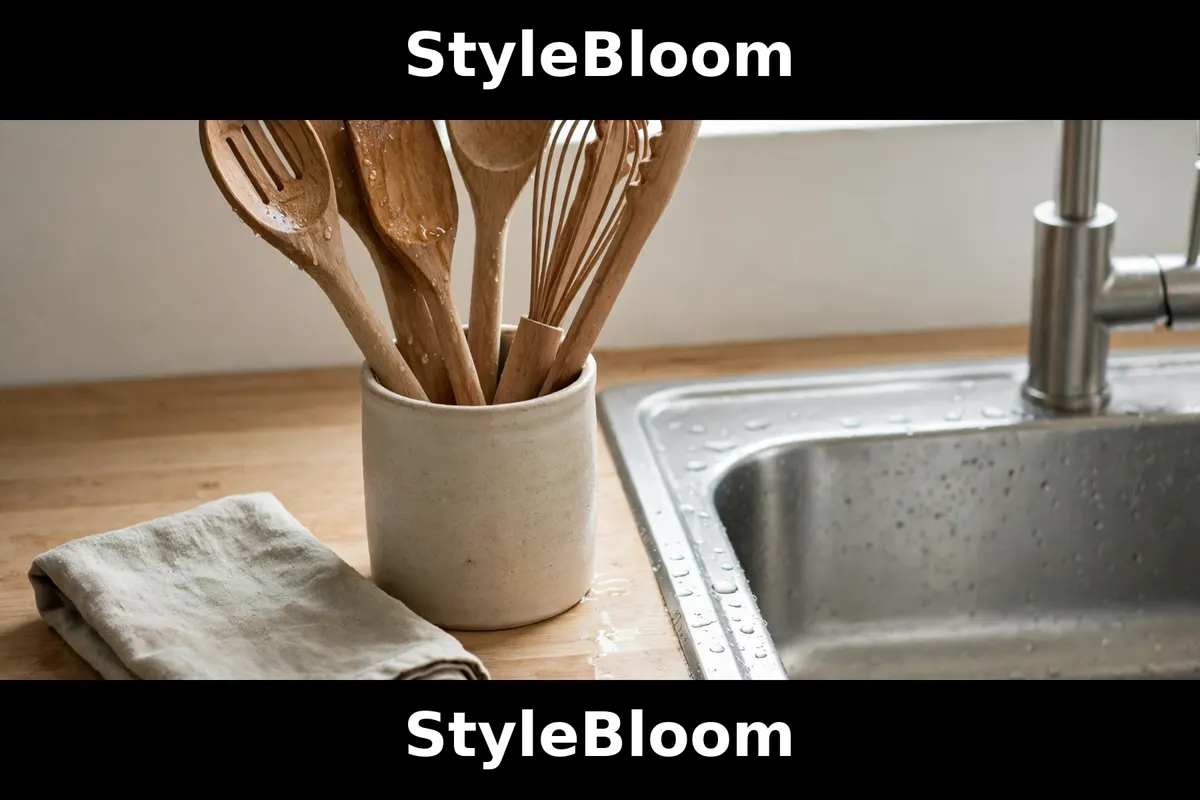
The lifespan figures the care guides quote, five to ten years for a hardwood tool, are conditional, and the condition is this routine. Wash immediately after use, in warm water with mild dish soap, with a soft sponge, never steel wool or an abrasive pad, and never leave the tool soaking in the sink, because soaking is what cracks and warps wood, and a cracked tool is a tool that harbors bacteria in the crack no matter how well you wash it. Rinse, and dry immediately, standing upright in the holder or the dish rack where air reaches every surface, because wood dries from the outside in and a tool left lying damp dries last where it lies. That is the whole daily routine, and it takes less time than the washing itself. The dishwasher is never the answer for wood: the long hot soak, the harsh detergent, and the heated dry cycle are the three things that age a wooden tool fastest, and a tool that has been through the dishwasher a dozen times looks it.
Oiling is the monthly-to-quarterly half of the routine, and it is what separates the tools that last a decade from the tools that split in year two. Every one to three months, depending on use and on how the wood looks and feels, rub a thin coat of food-grade mineral oil or a beeswax wood conditioner into the clean, dry tool, let it absorb, and wipe off the excess. If the wood looks dry, pale, or rough to the touch, it is time, and if it still looks satin and feels smooth, it can wait. The oil hydrates the wood from inside, which is what prevents the drying, cracking, and splintering that end tools, and it reduces the porosity that lets the wood absorb stains and smells. Never use vegetable oil, cooking oil, or olive oil, which turn rancid in the grain and leave the tool smelling of old fat. The search links below cover the two things the routine needs: food-grade mineral oil and a beeswax conditioner, plus the holder that lets the tools dry upright.
Stains and smells have their own remedies, and both are honest about their limits. Wood absorbs strong colors and aromas, garlic, onion, turmeric, and beetroot most of all, and the remedy is a paste of coarse salt and lemon rubbed over the stained area, left briefly, and rinsed, which lifts color and smell without bleaching the wood. A monthly deep clean of a vinegar and water mix, one part vinegar to three parts water, for ten minutes, followed by a thorough rinse and immediate drying, resets a tool that has seen heavy use. Sunlight helps too: a few hours in direct sun dries the wood fully and fades odors, which is the oldest part of the routine and still the cheapest. None of this removes a deep stain entirely, and a wooden spoon that has stirred a hundred curries will carry a faint memory of them. That is the bargain. Silicone stays odor-free and wood stays beautiful, and the next section tells you which bargain to strike for which task.
The hygiene question deserves a straight answer, because it is the question that keeps people from buying wood at all. The landmark study everyone quotes, from the University of Wisconsin in 1994, put bacteria on wooden and plastic boards and found the wood did not show higher bacterial survival than the plastic. The material guides since have added the mechanism: hardwoods contain compounds that inhibit bacteria when the surface is dry, which is why the drying step in the routine is not cosmetic. The FDA Food Code, the model code American states adopt for restaurants and food shops, bans wood as a food-contact surface with a few exceptions, which is a restaurant rule about commercial service, not a finding that a home wooden spoon is unsafe. The honest summary, from a 2021 review in the Journal of Food Protection, is that wood and silicone performed equally well on microbial safety when cleaned properly and replaced before showing wear. The variable is not the material. It is the care, and the care is the routine above. A neglected silicone tool can be dirtier than a well-kept wooden one, and a cracked wooden tool should be retired, sanded smooth, or replaced, because cracks are where the routine stops working.
Food-grade mineral oil · Beeswax wood conditioner · Utensil holder for drying upright
Wood vs Silicone vs Metal: Task by Task

No single material wins every task, and the kitchens that work best keep all three, each doing the job its physics suits. The table is the whole comparison, and the paragraphs after it explain the two rows that decide the most purchases.
| Task | Wood | Silicone | Metal |
|---|---|---|---|
| Stirring thick food | Best: stiff, strong | Flexes; fights you | Scratches nonstick |
| Flipping eggs, pancakes | Thick edge; thin turner only | Best: thin, flexible | Best on steel; scratches nonstick |
| Scraping bowls and pans | Good; stiff edge | Best: flexes to the curve | Scratches nonstick |
| High heat, searing | Scorches if left resting | Typically to about 450°F | Best; no heat limit |
| Nonstick and enamel | Safe; softer than coating | Safe; softer than coating | No; scratches |
| Cast iron | Best; protects seasoning | Fine; less scraping power | Fine on seasoning; heavy |
| Dishwasher | Never | Usually yes | Usually yes |
| Odors and stains | Absorbs; salt and lemon | Resists; vinegar soak | Resists; can spot |
| Lifespan with care | 5 to 10 years | 2 to 5 years by quality | Decades; handles fail first |
Wood wins the stirring tasks because it is stiff. A wooden spoon moves a thick stew, a risotto, or a pot of beans without flexing, and the stiffness is what lets it scrape the fond, the browned bits, from the bottom of a pan without bending away from the work. It is also the best tool for cast iron, because it is strong enough to scrape the fond and gentle enough not to damage the seasoning layer, which is exactly the combination cast iron needs. Silicone wins the flexible tasks because it bends: a silicone spatula gets under an egg, follows the curve of a bowl, and scrapes a pan clean in a way no stiff tool can, and it takes heat to about 450 degrees Fahrenheit in the food-grade grades, which covers every ordinary cooking task except resting on a screaming-hot surface. Metal wins the heat tasks outright and loses the nonstick tasks outright, because it scratches every coating it touches. The rule that follows is simple: wood for stirring and cast iron, silicone for flipping and scraping, metal for steel pans and high heat, and never metal on nonstick.
The hybrid kitchen is the honest recommendation, and it is cheaper than a full set of anything. A small set of wooden spoons and one thin turner, a silicone spatula and a silicone turner for the flexible jobs, and the metal tools you already own for steel and high heat, cover every task in the table without a drawer full of duplicates. Keep the silicone tools for the dishwasher days, when the routine has no time for hand washing, and keep the wooden tools for the daily cooking, when their stiffness and their feel in the hand earn their keep. Replace any tool, of any material, when it shows wear that cleaning cannot fix: cracks in wood, tears or stickiness in silicone, loose handles in metal. The 2021 review's finding stands as the rule for all three: the material matters less than the care and the replacement.
Raw meat deserves its own discipline, because it is the one task where the care routine carries a safety consequence. Wash a wooden tool used with raw meat thoroughly by hand, immediately, with hot soapy water, and dry it at once, standing upright, before it touches anything else. Do not let it sit in the sink with the other washing, and do not use the same spoon for raw meat and for the finished dish without washing in between. The guides are unanimous on this point, and the rule costs thirty seconds. A dedicated wooden spoon for raw meat, marked by a notch or a darker handle, removes the decision entirely, and it is the cheapest food-safety purchase in the kitchen. The same discipline applies to the raw-meat board, which is washed separately and dried separately, every time, without exception.
The Drawer Plan: Starter Three, Then the Full Set
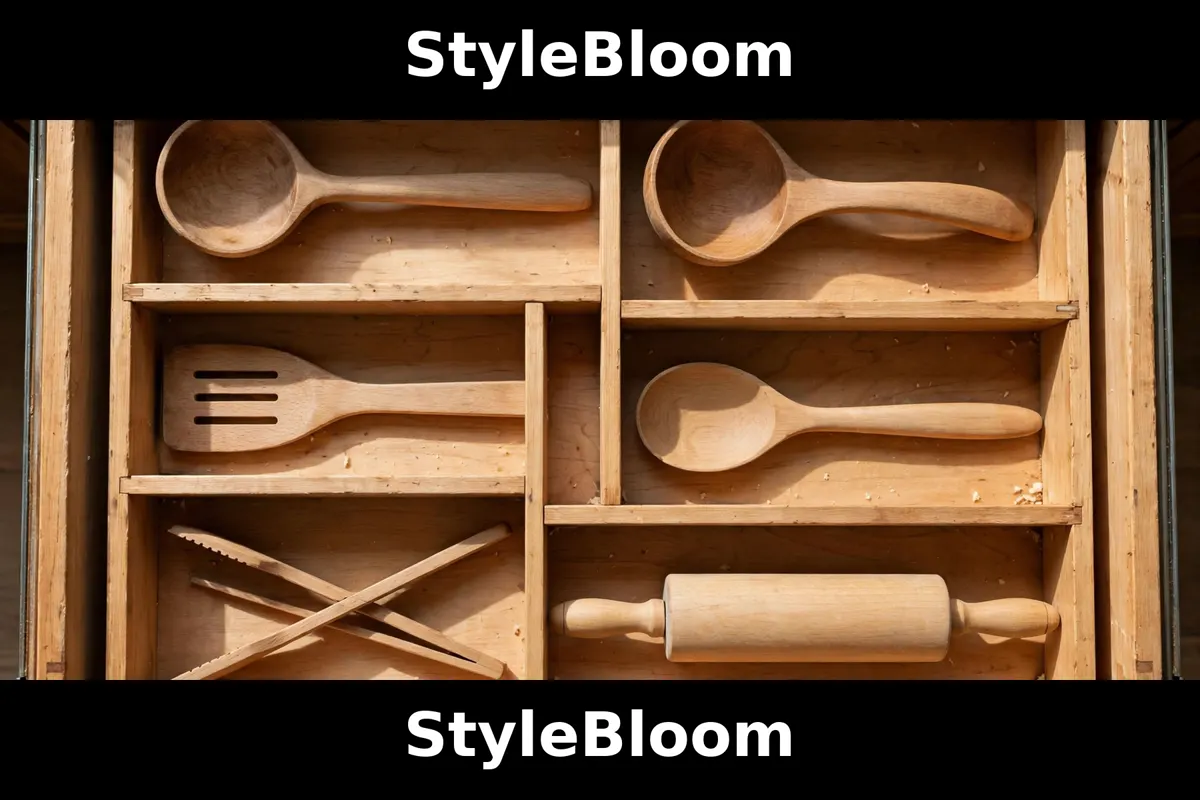
Start with three tools, not ten. A wooden mixing spoon, a wooden slotted spoon, and a silicone spatula cover stirring, serving, and scraping, and they cost less than any set while teaching you whether you enjoy the care routine. Use them for a month. If the hand washing feels like nothing, which it will for most cooks, buy the set that matches the finish you chose in the finish section: the 10-piece teak set for the whole drawer, the olive set for bare wood, the acacia set for display. If the hand washing feels like a burden, stop at the three and add silicone for the rest, because a wooden set that lives in the dishwasher is a set being destroyed slowly, and an honest silicone drawer beats a ruined wooden one.
The full drawer, when you are ready, runs in zones. Cooking tools stand upright in the holder by the stove, wooden spoons and turners together, silicone spatulas beside them, because the tools you use while cooking should be reachable without opening a drawer with wet hands. Serving tools live in the drawer, ladle and servers together, and the boards live upright in their own slot, wood boards separate from plastic, because a board stored flat under a pile stays damp. The rolling pin, the mortar, and the wooden salad servers belong to the same family and the same care routine, and they are the tools that make the drawer feel complete rather than merely stocked. A drawer with a zone for each kind of work stays tidy without effort, and a drawer without zones becomes the junk drawer with better contents.
Gift buyers should read this section backwards. A wooden set is a good gift precisely because it is a commitment the recipient may not make for themselves, and the gift that lands best is the set plus the oil: the tools and the first bottle of food-grade mineral oil together, so the care routine starts on day one instead of month three. A single beautiful olive wood spoon, oiled and wrapped, beats a large lacquered set for the cook who already owns everything, because it is a tool with a finish story rather than another box of duplicates. And a wooden board, oiled and ready, with the salt-and-lemon remedy written on the card, is the gift that teaches the routine without lecturing. The tools are the gift. The routine is what makes it last.
Seven Mistakes That Ruin Good Wood
First, buying lacquer without knowing it, and discovering the chipping after the return window. Second, the dishwasher, which ages a wooden tool in a dozen cycles more than a year of hand washing. Third, soaking, which cracks and warps wood faster than any other single habit. Fourth, oiling with cooking oil, which turns rancid in the grain and leaves the tool smelling of old fat. Fifth, leaving the tool resting on a hot pan edge, where wood scorches and chars while silicone and metal would survive. Sixth, using the thick-edged spatula for eggs and blaming the wood, when the thin turner exists for exactly that job. Seventh, keeping a cracked tool in service, because the crack is where the care routine stops working and where bacteria survive the wash. Every one of these mistakes is common, every one is avoidable, and the seventh is the only one with a hygiene consequence, which is why it is stated as a rule: retire, sand smooth, or replace a cracked tool, and do not keep cooking with it.
Wooden kitchen gadgets repay the small routine they ask with the longest service of any soft tool in the kitchen and the best feel in the hand. Choose the finish knowingly, buy single-piece hardwood, wash and dry immediately, oil every few months with food-grade mineral oil, and give silicone the flexible jobs and metal the hot ones. That is the whole discipline, and it is enough. The drawer you open every day should hold tools that have earned their place by surviving your cooking, not tools that merely survived the photograph. Buy the wood you can maintain, maintain the wood you bought, and the tools will still be there when the pans have been replaced twice over.
Silicone spatula set for the flexible jobs · Wooden salad servers · Acacia wooden cutting board
What to try first: Read the finish words on the listing you are considering, and run the water test on the back of one handle when the set arrives. Good looks like: a matte satin surface, water darkening slowly into the wood, and smooth sanded edges. If it fails: return the set before the first use, or use it gently and retire it at the first chip. Learn next: Best Kitchen Gadgets — the wider drawer the wooden tools slot into.
Frequently asked questions
- Are wooden kitchen utensils safe for nonstick pans?
- Yes. Wood is softer than every cookware coating, so it will not scratch nonstick, ceramic-coated, or enameled pans. Silicone is equally safe. Metal is not: it scratches nonstick and should stay on steel and cast iron.
- Can wooden utensils go in the dishwasher?
- No. The long hot soak, harsh detergent, and heated dry cycle age wood faster than any other habit, causing warping, cracking, and roughness. Hand wash in warm soapy water and dry immediately, standing upright.
- How often should I oil wooden kitchen tools?
- Every one to three months, depending on use and how the wood looks and feels. Use food-grade mineral oil or a beeswax conditioner, applied thin, left to absorb, and wiped off. Oil when the wood looks dry, pale, or rough. Never use vegetable or cooking oil, which turns rancid.
- What is the difference between lacquer and oil finish on wooden utensils?
- Lacquer is a hard glossy coating that looks beautiful at first, then chips and flakes into food, and cannot be re-oiled. An oil-only finish is matte, lets the wood be re-oiled at home, and is the finish to buy for tools you want to keep for years. Check the listing's finish words and the gloss in the photographs.
- Are wooden spoons hygienic?
- With proper care, yes. The 1994 University of Wisconsin study found wood did not show higher bacterial survival than plastic, and a 2021 review found wood and silicone performed equally on microbial safety when cleaned properly and replaced before wear. The variable is care: wash, dry fully, oil, and retire cracked tools.
- Which wood is best for kitchen utensils?
- Teak is the default: close-grained, naturally oily, water-resistant, and sold single-piece. Acacia is dense and beautiful, beech is the affordable starter wood, olive wood is the oil-only connoisseur's choice, and bamboo is light but thirstier and needs strict drying. Buy single-piece hardwood for the daily tools.
- Do wooden utensils hold smells?
- They can absorb strong aromas from garlic, onion, turmeric, and beetroot. Rub the area with coarse salt and lemon, rinse, and dry, or give the tool a monthly vinegar and water soak at one part vinegar to three parts water for ten minutes. Silicone resists odors better, which is one reason the hybrid drawer works.
- Can I use wooden utensils on cast iron?
- Yes, wood is one of the best choices for cast iron. It is strong enough to scrape up the browned fond from the bottom of the pan and gentle enough not to damage the seasoning layer, unlike metal, which is heavier and harsher on seasoning.
- What is single-piece construction and why does it matter?
- Single-piece means the head and handle are one solid block of wood, with no glue joint or seam. Two-piece tools fail at the joint, exactly when loaded, hot, and full of food. Check the listing for the words single-piece or one-piece, and check the photographs for a seam at the neck.
- Wood or silicone: which is better?
- Neither wins every task. Wood is stiffer and better for stirring thick food and for cast iron. Silicone is thinner and better for flipping, scraping bowls, and dishwasher days, and typically tolerates about 450 degrees Fahrenheit. Keep both, each doing the job its physics suits.
- Why is my wooden spoon cracking?
- Usually soaking, dishwasher cycles, or missed oiling. Wood dries from the outside in, and repeated wetting without oiling leaves the surface dry and split. Stop soaking, wash and dry immediately, and oil with food-grade mineral oil. A cracked tool should be sanded smooth or retired.
- Can wooden utensils handle high heat?
- Wood does not melt, but it scorches and chars if left resting on a hot surface, and it should not sit on a screaming-hot pan edge. Silicone typically tolerates about 450 degrees Fahrenheit, and metal has no practical heat limit. Use metal for searing and high heat, wood for stirring.
- What should a beginner buy first?
- Three tools: a wooden mixing spoon, a wooden slotted spoon, and a silicone spatula. Use them for a month. If the hand washing feels like nothing, buy the set that matches your finish choice. If it feels like a burden, add silicone and stop at three wooden tools.
- Does the FDA ban wooden utensils?
- No, not for home kitchens. The FDA Food Code, the model code states adopt for restaurants and food shops, bans wood as a food-contact surface with a few exceptions. That is a commercial-service rule, not a finding that a home wooden spoon is unsafe, and it does not apply to home cooking.
- How long do wooden kitchen utensils last?
- Five to ten years for hardwood tools with the full routine: hand washing, immediate drying, and oiling every one to three months. Neglected tools fail far sooner, through cracking, warping, and roughness. Silicone lasts two to five years depending on quality, and metal lasts decades with handles the usual failure point.