
How to Remove Press-On Nails Without Damage: Every Method, the Damage Signs, and the Aftercare
Four methods, one rule: soak, never force. Tabs, soapy soak, oil soak, and acetone, with the soak times, the damage signs, and the staged aftercare no rival gives.
By the end, you will know which adhesive holds your set, which method removes it, how long to soak, when to stop and see a professional, and how to bring the nails back before the next set.
As an Amazon Associate, StyleBloom earns from qualifying purchases. This guide contains affiliate links — it costs you nothing extra and keeps our content free.
Every rival guide for this query teaches one piece of the removal and calls it the removal. One teaches the soak and skips the adhesive check. One teaches acetone and skips the aftercare. One teaches tabs and skips glue. A reader following any single one ends up forcing a nail, drying the skin, or reapplying onto damage. This page is the whole removal in one place: the adhesive check, all four methods with their rival-reported times, the stuck-nail ladder, the damage signs, the professional checklist, and the staged aftercare, each with its source named.
It sits beside the choosing guide, not inside it. The best press-on nails guide holds the sets, the shapes, and the wear; this page holds the removal only. Read the adhesive check first if you read nothing else — ten seconds deciding tabs or glue settles which method you use and how long you soak.
First, check how your press-ons were applied: tabs or glue
Every removal method below starts from the same fork, and it is the fork most rival guides skip. Glaize, the one rival that structures its guide this way, splits removal by adhesive: adhesive tabs come off differently from glue, and the soak times, tools, and reuse outcome all change with the adhesive. If you applied the set, you know which it is. Otherwise, look at the edge of one nail in good light. Tabs leave a soft, spongy layer under the edge and the nail flexes slightly when pressed. Glue leaves a hard, clear bead and the nail feels rigid, with no give. When unclear, treat the set as glued and use the longer soak: the glue method also removes tabs, while the tabs method fails on glue and tempts forcing.
The rule governing all four methods is the same, stated by every rival in some form. WikiHow: do not peel or rip press-on nails off forcefully. L'Oreal: never try to rip or force your nails off, because it can damage the natural nails. BTArtbox: resist the urge to peel them off. Healthline: ripping or forcing them off can damage the natural nails. Allure, quoting board-certified dermatologist Joshua Zeichner: press-on nails themselves are not inherently damaging to the nail as long as they are removed properly, and picking or peeling them off is what causes the harm. The test for every method is whether the nail moves without force after the soak. If it resists, the soak was too short, and the answer is more soak time, never more force.
Method 1: adhesive tabs — peel slowly, and stop at the first resistance
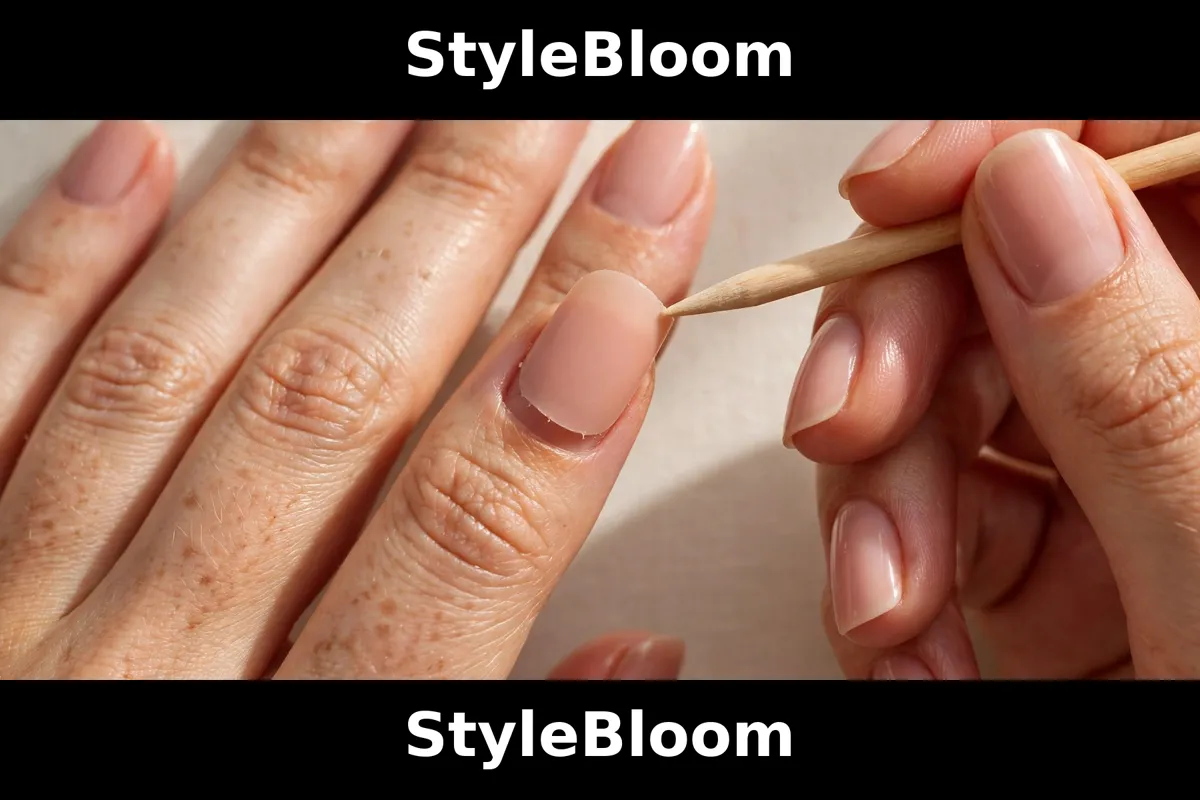
Adhesive tabs are the easiest removal in this guide and the only method where peeling is part of the method at all, and even here it is qualified. Glaize, writing for tabs specifically, instructs: peel each tip off slowly and carefully, and if you feel any resistance, stop, do not force it, and soak your fingers in warm soapy water for five to ten minutes. Allure's version works from the sides: oil under the edges after a warm soak, then a gentle side lift. The steps: wash your hands; work a drop of cuticle oil under each nail edge; lift from one side edge with a wooden cuticle stick, slowly, keeping the pressure sideways rather than upward; the moment any nail resists, stop and soak that hand for five to ten minutes in warm soapy water, then try again. A nail that lifts cleanly needed no soak; one that resists needed the soak, not a stronger grip.
Two details matter. The stick is a lever for the edge, not a scraper for the plate: slide it under the lifted edge and hold the gap open while oil and water loosen the adhesive. And tabs are the reuse-friendly adhesive: Healthline's medically reviewed guide states that acetone will likely ruin the press-ons so they cannot be reused, while a tabs removal using only water, oil, and a stick leaves the press-on intact for cleaning and reapplication, covered in the reuse section below. If any nail resists after two soaks, treat that nail as glued and move to Method 2: mixed sets are removed nail by nail. Cuticle oil under the edge does two jobs: Allure uses it as the loosening agent, and BTArtbox's FAQ notes it works best after an initial soak, hence oil first for easy nails, soak first for resistant ones. One drop per edge is enough.
Method 2: warm soapy water soak — the default method for glued nails
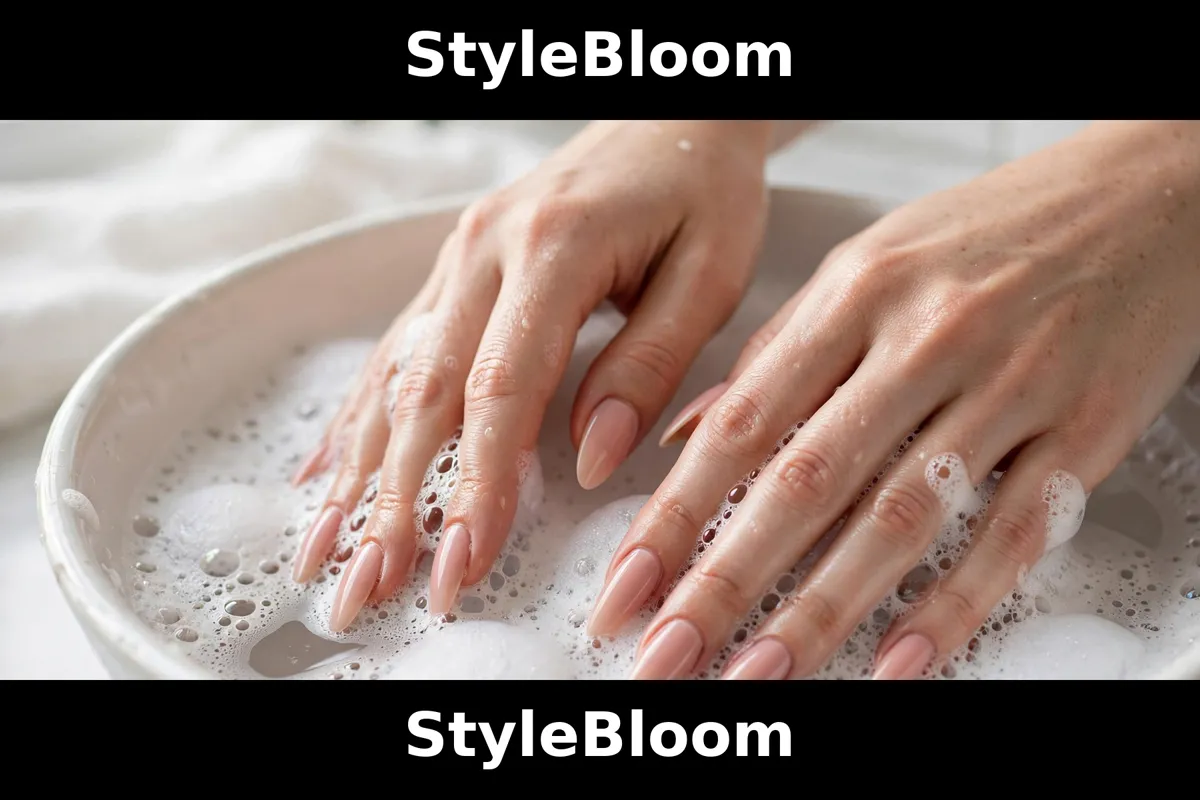
The warm soapy water soak is the default method because it has the widest rival agreement, the gentlest profile, and the soak times cluster tightly. WikiHow, L'Oreal, BTArtbox, Healthline, and Allure all teach it: ten to fifteen minutes of warm soapy water, with Allure stating at least ten minutes on nail-artist sourcing. Olive and June add the re-soak rule this guide adopts everywhere: ten to fifteen minutes, then a further ten-minute re-soak if the nails still resist. Glaize, for glued nails specifically, gives the hotter, longer end: fifteen to twenty minutes in hot soapy water. Fill a bowl with warm water and gentle soap; soak fingertips ten to fifteen minutes, nails fully under; test one nail from the side edge with a stick; if it moves, continue nail by nail; if it resists, re-soak ten minutes and test again. The water should feel warm and comfortable, not hot enough to redden the skin. Glaize's word is hot, and for a stubborn glued set the hotter end of comfortable is right, but water hot enough to hurt is never required, and no rival's time depends on it.
Three sourced additions help. Cuticle oil under the edges, as Allure teaches: after the first soak, work oil under each lifted edge and let it sit a minute. The wooden stick, as WikiHow teaches: an orangewood stick slides under the loosened edge and holds the gap so the soapy water reaches further under the nail. Dental floss, as WikiHow teaches in its no-acetone method: once an edge is lifted, floss worked gently back and forth under the nail, from cuticle toward tip, separates the remaining adhesive without scraping the plate. Floss belongs only after the edge is lifted: forced under a dry edge, it is the same forcing motion in a thinner form. Hot water alone does not take press-ons off: the water loosens, and soak time plus edge work finish it. A quick hot rinse, with no soak, ends in a forced peel. Orangewood sticks with rounded ends are the tool here: the rounded end slides under a lifted edge without gouging, and the same sticks serve the cuticle work in aftercare. A metal pusher does the same job; a sharp metal edge used as a scraper on the plate is not fine.
Method 3: oil soak — the gentlest method, and the one for sensitive nails
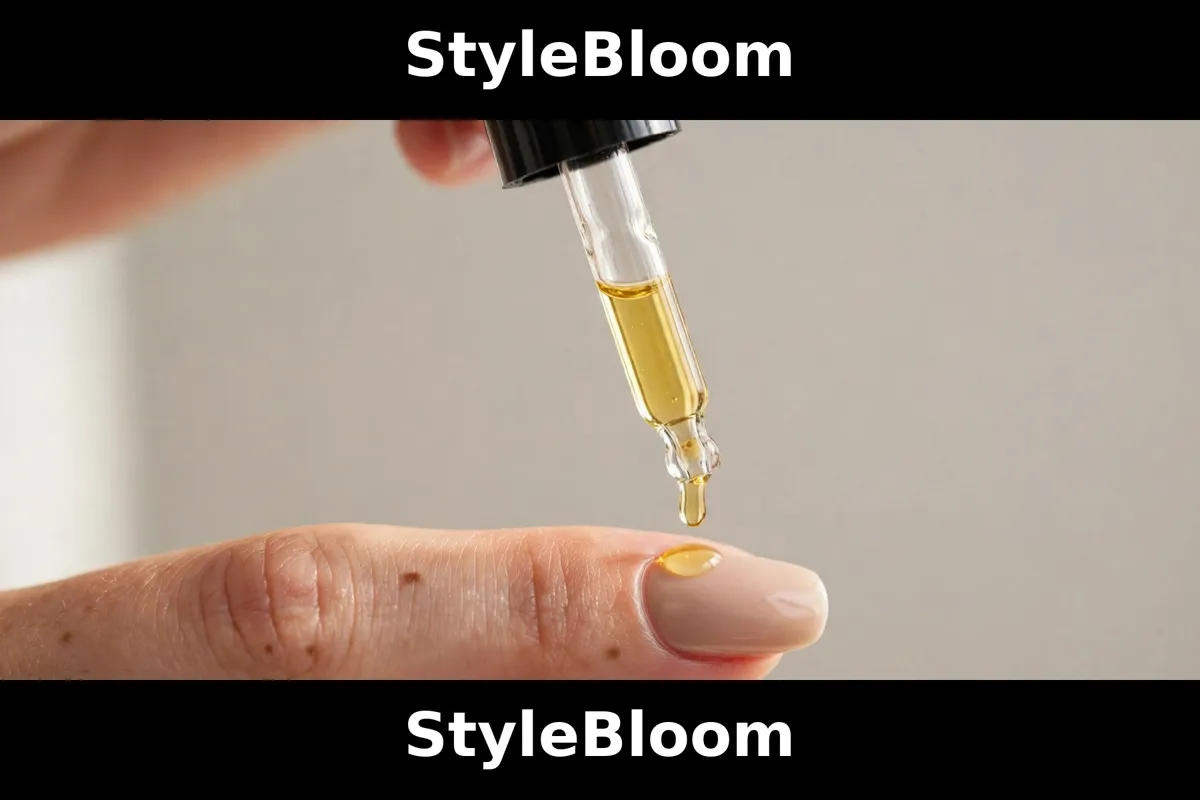
The oil soak is the method Healthline teaches as its third method and Nailboo teaches as its third step, and this guide recommends it first for sensitive, thin, or brittle nails, for skin that reacts easily, and for anyone who found acetone unpleasant before. Healthline's version: soak in warm water with oil for ten to fifteen minutes, and re-soak if the nails feel tight. Nailboo's version: a five-minute warm-water soak first, then oil, naming coconut oil, olive oil, and vegetable oil. Soak fingertips in warm water five minutes; add oil generously to the water, or apply it under each lifted edge; continue to ten to fifteen minutes total; test from the side edge; re-soak on resistance. The search questions name coconut, olive, and cuticle oil, and all three appear in the rival record. Cuticle oil is tidiest because it doubles as the aftercare oil; olive and coconut are the kitchen options.
The honesty rule for this method is stated plainly, because the rival record is thinnest here. No rival in the nine guides read cited a study or named a dermatologist for the claim that oil dissolves nail glue. Nailboo states that oil dissolves the glue with no inline source. Healthline, medically reviewed, states that oil can be gentler on the nails and skin and helps moisturize as you go, without a named quoted expert for the dissolving claim. Soak times and gentleness are therefore reported as the rivals state them, not as proven science. On the rival record, the oil lubricates the edge and moisturizes skin and nail while the water loosens the adhesive. Coconut oil is named because Nailboo lists it first and the search questions ask about it directly; olive oil is the equivalent choice, and cuticle oil the equivalent in the nail aisle. Do not buy a dedicated removal oil: no rival names one. Apply the oil generously, because a thin film on the water's surface does not reach under the nail edge where the adhesive sits.
Method 4: acetone soak — the strongest method, with the strictest rules
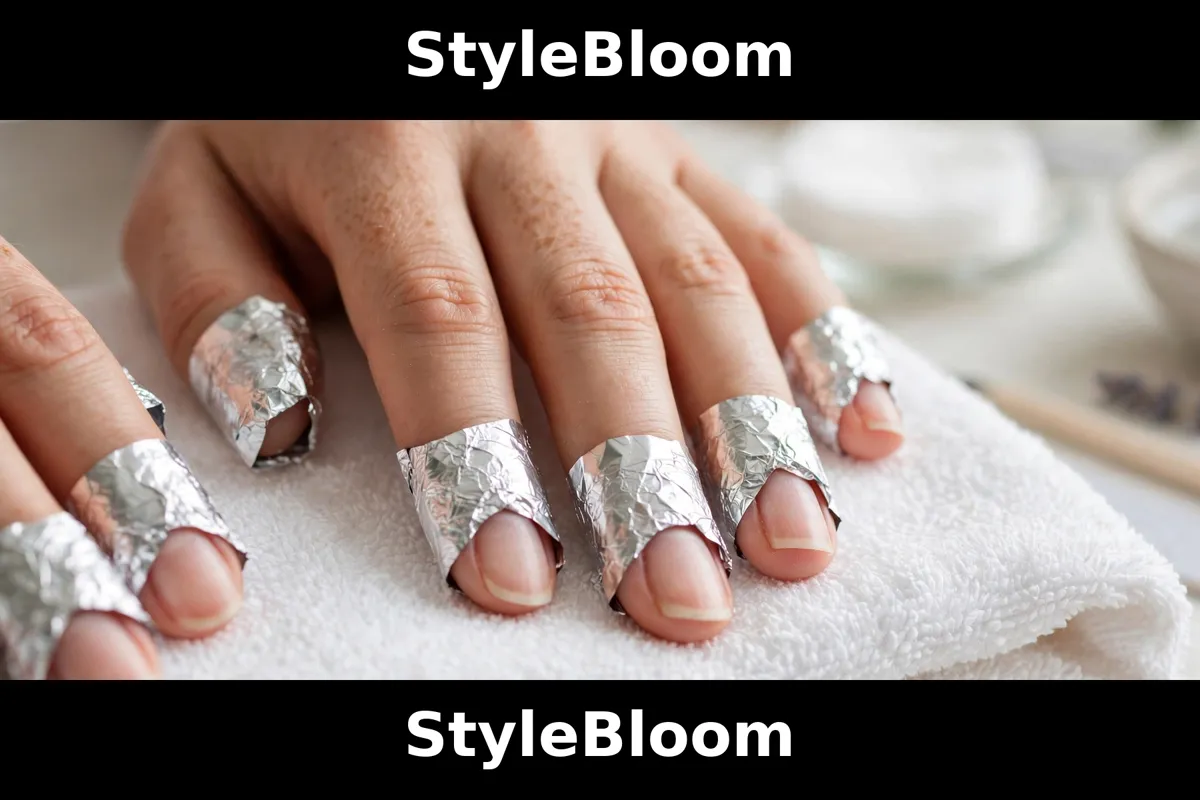
Acetone is the strongest remover in this guide and the one with the strictest rules, and the two facts belong together. The rivals that teach it give soak times at the longer end: ten to twenty minutes according to BTArtbox, fifteen to twenty minutes according to L'Oreal, and about twenty minutes for glued nails according to WikiHow, with WikiHow giving about thirty minutes for its foil-wrap version for stubborn glue and BTArtbox about fifteen minutes for foil wrap. Protect the skin first, petroleum jelly as BTArtbox teaches or cuticle oil as WikiHow teaches; soak fingertips in pure acetone ten to twenty minutes; test from the side edge; if the nail resists, switch to foil, acetone-soaked cotton under foil for fifteen to thirty minutes, and test again. Foil is the stubborn-glue version, not the default. Work ventilated, keep acetone from heat and flame, and cap the bottle between uses.
The costs of acetone are stated with their sources, because they decide when this method is wrong. Allure, quoting dermatologist Joshua Zeichner, states that acetone is very drying and can dry the skin and nails. Healthline, medically reviewed, states that acetone can be harsh on the skin and nails, that moisturizing afterward matters, and that acetone will likely ruin the press-ons so they cannot be reused. WikiHow warns that acetone can sting or irritate the skin, so if you have a cut, it will sting. Those facts give the three acetone rules. Do not use acetone on broken, cracked, or irritated skin: no rival recommended it there, and the sting warning plus the professional signs below make this the article's own safety line. Moisturize immediately after acetone removal, with cuticle oil and hand cream, before judging the nails, because acetone drying looks and feels like damage on the day. Do not use acetone when the set is meant to be reused. For a glued set that resisted two soapy soaks and an oil soak, acetone is the right escalation; for a tabs set or a set meant for reuse, it is the wrong first move. Pure acetone is specified deliberately: WikiHow's method specifies pure acetone, and ordinary acetone-free remover appears only as a fallback in its no-acetone method. Check the label before the soak: the ingredient list should name acetone as the remover itself.
Which method for which set: the comparison
The four methods are a ladder, and the adhesive plus the plan for the set decides the rung. Tabs start on rung one. A glued set with no reuse plan and no skin sensitivity starts on rung two and climbs only if the nails resist. A sensitive, thin, or brittle set starts on rung three. Acetone is rung four, reached after the gentler rungs have been tried, not before. The table states the ladder in one place, with soak times as the rivals report them and the reuse outcome as Healthline reports it.
| Set | Start with | Soak time (rival range) | Reuse | Skip when |
|---|---|---|---|---|
| Adhesive tabs | Method 1: slow peel + oil under edges | No soak if nails lift; 5–10 minutes if any resists (Glaize) | Best: water, oil, stick only | Any nail resists after two soaks — treat as glued |
| Glue, standard | Method 2: warm soapy soak | 10–15 minutes, re-soak 10 (multi-rival); 15–20 hot for stubborn glue (Glaize) | Good if acetone is never used | Broken skin, or the set must be reused after acetone |
| Glue, sensitive or thin nails | Method 3: oil soak | 5 minutes warm water, then oil to 10–15 total (Nailboo; Healthline) | Good if acetone is never used | Oil allergy or the nails need the strongest remover |
| Glue, stubborn after two soaks | Method 4: acetone soak, then foil | 10–20 minutes bowl (BTArtbox; L'Oreal; WikiHow); 15–30 foil (BTArtbox; WikiHow) | Ruined: acetone will likely ruin the press-ons (Healthline) | Broken or irritated skin, reuse planned, poor ventilation |
Two further points answer the most common search questions directly. Wear duration decides stubbornness: L'Oreal (vendor) gives about one week to twelve days, tabs up to a week, glue two weeks or more; BTArtbox (vendor) gives one to three weeks. Neither is medical, but both explain why a day-three set lifts easily and a day-fourteen set needs the full soak. The easiest and safest answers are the same ladder: tabs peeled slowly are easiest, and the safest method is the gentlest one that moves the nail without force. Immediate removal, straight after application, follows the same ladder with shorter soaks, because fresh glue has had less time to cure. For gel-type and UV-cured glues, which appear throughout the removal keyword file, no rival gave a separate method: the honest handling is the same ladder at the longer end of the soak range, with resistance answered by re-soaking, never by force. A soaking bowl wide enough for all five fingertips at once is the one piece of kit that makes the ladder practical: a narrow cup forces one hand at a time and the second hand's soak goes cold while the first is tested.
When a nail will not come off: the re-soak ladder
A nail that will not come off after soaking is the most common failure in this subject, and the protocol is specific, because the failure is almost always a short soak rather than a strong glue. The keyword file asks it repeatedly: nails not coming off after soaking, not coming off with acetone, and how long to soak. The rival record answers with the same move: soak again, longer, and test again. The ladder: first soak, ten to fifteen minutes, test one nail from the side edge. Resists: re-soak ten minutes, test again. Still resists: switch the soak liquid to the next rung, soapy to oil, oil to acetone, with a fresh ten to twenty minutes. Still resists after acetone and foil: stop for the day, moisturize, and try again the next day, or see a salon professional. WikiHow's question-and-answer section gives the professional version directly: for glued nails, if the home methods fail, it may be best to see a salon professional. That is the correct end of the ladder, cheaper than the damage a forced removal buys.
Three rules govern the ladder. Test one nail, not all ten: testing all ten first only multiplies the forcing. Never escalate the force when the soak fails: escalate the soak, the liquid, or the time, in that order. A stick pushed harder, floss pulled tighter, and a nail pried from the tip are the same forcing motion with different tools. Keep the resistant nail wet between attempts, refreshing the bowl when it cools: the rival times assume warm water. No rival teaches a no-soak removal for glued nails. A glued nail removed without soaking is removed by force, whatever the tool.
Removing the glue left behind: residue, not damage
Glue left on the natural nail after the press-on lifts is residue, not damage, and it is removed differently from the press-on itself. The rivals treat it as cleanup: oil under the edge lifts residue as the nail lifts (Allure, BTArtbox), and buffing clears what remains (Glamnetic, Healthline). Wipe with warm soapy water; work a drop of cuticle oil over remaining glue and wait a minute; roll residue off with a fingertip or soft cloth, cuticle toward tip; if a hard bead remains, buff once, lightly, fine side, one direction, and stop. Healthline's guidance says to buff softly, and the keyword file's residue questions show readers buffing hard enough to thin the nail. One light pass removes residue. Repeated hard buffing removes nail, and the difference shows the next day as thinning and peeling. Cuticle residue needs the same patience: oil, a minute's wait, then wipe, not scraping, because the cuticle is skin, and the skin damage that lets germs in, which Nailboo warns about, starts with scraping. For glue on a press-on meant for reuse, the same oil-and-wipe handling applies to the press-on's underside, with no acetone anywhere near it. A fine-grit buffer is the tool, and the fine side is the only side this guide uses on the natural nail. The coarse side belongs to shaping, never to the nail plate after removal.
Damage signs: what improper removal actually does, and how to read it
The damage question has two rival answers, reported with their sources. Allure, quoting dermatologist Joshua Zeichner: press-on nails themselves are not inherently damaging to the nail as long as they are removed properly, and picking or peeling them off is what causes the harm. WikiHow, attributed to nail artist Mia Rubie and expert sources: press-on nails do not cause damage, only improper removal does, and picking or peeling can take layers of the natural nail with them. Healthline, medically reviewed: ripping or forcing them off can damage the natural nails. L'Oreal, vendor-sourced, lists the resulting damage as splitting, peeling, and weakened nails. BTArtbox (vendor) calls improper removal detrimental to the nail's wellbeing. Nailboo (vendor) describes the mechanism: chipping at the press-on without loosening it scrapes and weakens the nail, leaving it brittle and vulnerable to cracking. No rival other than Allure named a dermatologist for these claims, which is why every one of them carries its source here.
The signs themselves are listed by only two rivals, combined here with the source of each. Healthline lists deep ridges, splitting, and tissue damage. WikiHow lists peeling, flaking, brittleness, ridges, white spots, and nails looking damaged. The signs grade themselves. Surface: white spots, flaking at the free edge, roughness under the fingertip, usually after one forced removal, recovering with aftercare. Middle: peeling layers, splitting at the free edge, brittleness across the nail, after repeated forcing or hard buffing, needing a longer break. Deep signs: deep ridges, splitting into the nail bed, and tissue damage, which belong in the professional section below, not in home aftercare. The healing timeline in the rival record is a single claim: WikiHow, on nail-artist sourcing rather than medical sourcing, states that nails take about six months to grow out fully. That figure is WikiHow's claim, not a medical fact: a damaged nail is not repaired by a product in a week, it is grown out over months, and aftercare protects the new growth.
When not to remove at home: see a professional instead
Only one rival in the nine guides read gives this section, and this guide builds it out because its absence elsewhere is the largest safety gap in the rival record. Healthline's medically reviewed guide carries a section titled When to See a Medical Professional, listing infection signs, nail damage signs, and allergic reaction signs, with the instruction to see a healthcare professional promptly. The signs, as Healthline lists them: infection, shown by redness, swelling, pain, warmth, or pus; nail damage, shown by deep ridges, splitting, or tissue damage; allergic reaction, shown by rash, itching, or swelling. This guide adopts Healthline's list and adds the pre-removal checklist no rival gives: see a professional first when any of the following is true. The skin around any nail is broken, cracked, cut, or irritated. Any nail shows redness, swelling, warmth, pain, or pus. Any nail has lifted from the nail bed, changed colour, or shows deep ridges or splitting into the bed. Any previous removal caused a rash, itching, or swelling, suggesting an allergy to the glue or remover. The press-on was applied over an existing injury, infection, or damaged nail. In each case the home methods wait: the soak that loosens glue also soaks broken skin, and acetone stings cuts, on WikiHow's warning.
The salon referral has separate criteria. See a salon professional when the home ladder has been fully tried, a soapy soak, an oil soak, and an acetone soak with foil, and a nail still will not move without force; when the set is a professional application with an unfamiliar glue; when acrylic or gel extensions sit under the press-ons rather than natural nails; and when the reader cannot tell tabs from glue or whether the resistance is adhesive or damage. WikiHow's question-and-answer section supports the first criterion directly: for glued nails, if the home methods fail, it may be best to see a salon professional. A salon removal costs a visit and saves a nail. The searchers asking how to remove salon press-ons and professional glue get the same answer: a salon application is removed by the salon's method first and the home ladder second, because the salon knows which adhesive it used and the home reader is guessing.
Aftercare: the staged recovery no rival gives you
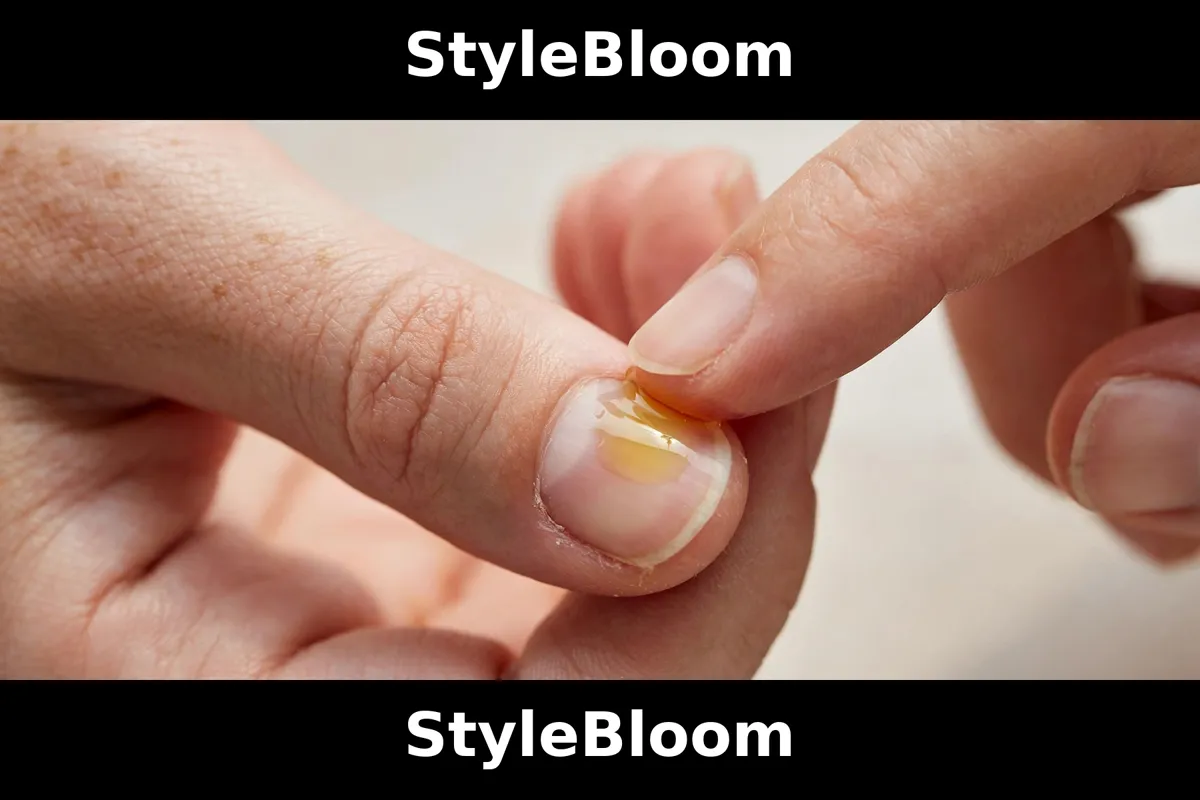
Aftercare is where the rival guides are thinnest, and it is where this guide is longest, because the rivals give fragments and the reader needs a protocol. Healthline says to buff softly, moisturize, use a strengthening treatment, and take a break between sets. BTArtbox says to use cuticle oil, hand moisturizer, and a nail strengthener, and keep the nails hydrated. WikiHow says to hydrate, use cuticle oil and a strengthener, and rest the nails. Glaize says to leave the nails bare for a day or two. No rival gives a recovery timeline, staged steps, or a healed assessment before reapplication. This guide builds the protocol from those fragments, staged by day, assessment included. Day zero: wash with warm soapy water; wipe every nail clean; massage cuticle oil into every nail and cuticle; apply hand cream over the whole hand; do not judge the nails yet, because acetone drying and soak softening distort how they look and feel. Days one and two: cuticle oil twice a day, morning and night, massaged into cuticle and plate; hand cream after every hand wash; no new set, no polish, no buffing. The nails stay bare so the reader can see what the removal left behind: the assessment the rivals skip.
The assessment happens on day two, in good light, nail by nail. Run a fingertip across each plate and look at the free edge. Healed enough to reapply means all of the following: no peeling layers, no splitting at the free edge, no new white spots, no tenderness when the nail is pressed gently, and no redness or swelling around any cuticle. Any one of those signs means the break continues: oil twice a day, no set, reassess every two days until the signs clear. A strengthener enters only now, on nails that pass but feel thin or brittle, as a coating for new growth, not a repair for stripped layers: apply as directed, keep the oil going, and stop if the nail peels more, because a strengthener over a peeling nail seals the peel in. Nail strengthener is named with its limit stated: it hardens the plate it coats, it does not regrow stripped layers, heal the nail bed, or make a damaged nail ready sooner, and no product in the rival record shortens the growth schedule. Healing is staged: dryness settles in one to two days; flaking and white spots over one to two weeks of oil and rest; stripped layers grow out over months, on WikiHow's six-month claim.
Reapplication prep: the full checklist
No rival gives a full reapplication-prep checklist; the fragments across the nine guides assemble into one only when put side by side. Allure: reapply right away only if the nails were not picked or peeled, with buffing and cuticle oil first. BTArtbox: a protective base coat and sticky tabs for easier reuse. Nailboo: a smooth surface makes the adhesive stronger. Healthline: a break between sets, and acetone ruins reuse. Glaize: one to two bare days before the next set. The checklist combines those fragments with the assessment step. One: pass the day-two assessment, with no peeling, splitting, white spots, tenderness, or redness. Two: wash and wipe every nail with warm soapy water, then dry fully, because oil left on the plate stops the next adhesive bonding. Three: buff once, lightly, fine side, one direction, only to give a smooth clean surface, as Nailboo's point requires, and stop at one pass. Four: size every press-on against its nail before any adhesive is opened, and set aside any nail that does not match edge to edge, because a wrong size lifts at the edge and invites the picking that damages the nail. Five: choose the adhesive for the wear planned, tabs for short wear and easy removal, glue for longer wear with the longer removal it brings, with a protective base coat under glue if the nails are thin, on BTArtbox's point. Six: apply, press, and hold each nail for the count the adhesive's own instructions give, and leave the set alone for the first hour, with no water and no picking at the edges.
Two checklist items decide most reapplication failures. The first is the oil-removal step: cuticle oil is the hero of removal and aftercare and the enemy of adhesion, and a nail filmed with oil sheds its set within a day. The second is sizing: lifting and popping complaints trace to a wrong-sized press-on, and no adhesive compensates. Nail glue bought for reapplication should be the glue the set's own instructions name, not the strongest glue on the listing page: stronger glue buys longer wear and a harder removal, and the removal in this guide is the price the wear charges. For a first reapplication after damage, tabs are the right choice even for a reader who previously used glue, because tabs give the easy removal the recovering nail needs. Hand cream belongs here: twice-daily oil needs a cream over it after every wash, so keep it beside the oil, not in a drawer.
Sensitive, thin, and brittle nails: the oil-only route
No rival covers sensitive or thin nails as a topic, and that absence is stated here rather than papered over, because the readers who need this section most are the ones the rival guides leave to guess. The adjacent mentions are two: WikiHow on acetone stinging cuts and sensitive skin, and BTArtbox on petroleum-jelly skin protection before an acetone soak. From those mentions, the sensitive-nail route is the oil soak only, with three added rules. No acetone at all: its drying effect, on Zeichner's sourcing, and its sting on cuts, on WikiHow's warning, make it the wrong remover for nails and skin that already react. A patch test first: oil on one nail edge, ten minutes, check for redness, itching, or swelling before soaking all ten. The gentlest edge work: the wooden stick only, the flat side of a metal pusher at most, no floss under a resistant edge, and the re-soak ladder with extra time rather than extra force. For brittle nails, the buffing steps shrink to zero: no buffing to remove residue, oil and wiping only, and no buffing before reapplication beyond the single light pass, because brittle nails lose layers to buffing faster than any other type.
Eczema and broken skin around the nails belong in the professional section above, not in this home routine: if the skin around any nail is cracked, weeping, or inflamed, the removal waits for a professional's view, and no soak in this guide, however gentle, starts on broken skin. For dry but unbroken skin, the oil soak doubles as skin care, and twice-daily oil keeps the next removal gentle. A metal cuticle pusher is named for the reader with no wooden sticks: flat side only, pressure sideways, stop at resistance. Thin nails are removed by the gentlest method that moves the nail, the oil soak, with the longest soak time the reader can give, and the assessment step matters more for thin nails than for any other type, because a thin nail shows damage sooner and recovers slower.
Reuse: which removal saves the set, and how to store it
Reuse is the question the keyword file asks fourteen different ways, and the rival record answers it in fragments that assemble into a clear rule. Healthline states the decisive fact: acetone will likely ruin the press-ons, so they cannot be reused. Allure states the condition: a set can be reapplied right away only if the nails were not picked or peeled. BTArtbox states the adhesive choice: sticky tabs make reuse easier, with a protective base coat under the set. Glaize states the rest interval: bare nails a day or two before the next set, which applies to the nails, not the stored press-ons. The rule: a set removed by tabs peel, soapy soak, or oil soak, with no forcing and no acetone, is a reusable set. A set removed by acetone is not, and no cleaning step restores it. A set removed by forcing is reusable only where the press-on is undamaged, which forcing rarely leaves: the force that strips the nail plate bends and cracks the press-on.
Storing a reusable set is a cleaning step, not a purchase. Wipe the underside of each press-on with warm soapy water and a soft cloth, work oil over any remaining glue and wipe again, dry fully, and store the set in its original case or a dry box, in size order, away from heat and sunlight. A storage case is named because a reusable set kept loose in a drawer loses its size order and picks up the dust that stops the next adhesive bonding. Do not store press-ons with glue still on the underside: dried glue from the last wear bonds unevenly under the next adhesive and lifts at the edge within a day. Do not soak the press-ons themselves in acetone to clean them, for the same reason acetone ends reuse. The reuse count question, how many times a set can be reused, has no rival figure in the nine guides, and this guide gives none: reuse ends when a press-on no longer matches its nail edge to edge, when its underside no longer cleans smooth, or when its decoration chips, and any of those three is the retirement sign, whatever the count.
Mistakes that waste the removal: the five to avoid
Five mistakes account for nearly every bad removal in the rival record and the search record, each with a named rival warning behind it. First, forcing the nail: peeling or ripping forcefully, warned against by WikiHow, L'Oreal, BTArtbox, Healthline, and Allure with Zeichner, strips layers and creates the damage signs above. Second, the three-minute promise: a search question asks for it, no rival taught it, and the shortest sourced times are five to seven minutes for a brand remover and five to ten for a resistant tabs soak. A three-minute removal ends in forcing; the honest time for a glued set is ten to thirty minutes depending on the method. Third, using acetone on broken skin: no rival recommended it, WikiHow warns that it stings cuts, and this guide's rule forbids it. Fourth, believing the vendor absolutes: Olive and June's claim that its removal process is always non-damaging, and Glaize's claim that a little extra time keeps press-ons completely damage-free, are vendor self-reporting, and they are wrong as absolutes, because any removal forced past resistance damages, whatever the brand. Fifth, reapplying the same day on unassessed nails: Glaize says a day or two, Healthline says a break between sets, and the assessment step exists because same-day reapplication on a damaged nail is how surface damage becomes layered damage.
Two further mistakes belong to the search questions rather than the rival guides, answered here so no reader leaves with them unaddressed. Vaseline: search questions ask whether it breaks down or removes nail glue, and no rival guide taught a Vaseline method. Vaseline is named in this guide only as BTArtbox names petroleum jelly, as skin protection before an acetone soak, not as a remover, and a Vaseline removal has no guide evidence behind it. Rubbing alcohol: search questions ask whether it takes off fake nails or removes glue, and no rival taught it as a method; WikiHow names it only as a fallback mention beside acetone-free remover. Neither substance is taught here as a removal method, and a reader who tries either as the whole method will find the glue unmoved and the forcing temptation waiting. The honest answer to both questions is that the evidenced methods are the four in this guide, and the unevidenced ones stay unevidenced until a guide worth citing teaches them.
Bottom line: soak, don't force
The whole guide reduces to one sentence, and it is the sentence the AI Overview summaries for this query converge on from the rival record: soak the nails, lift gently, and never force or peel them off. Tabs peel slowly with oil. Glued nails soak ten to fifteen minutes in warm soapy water, with oil under the edges and a stick. Sensitive nails soak in oil. Stubborn glue escalates to acetone and foil, with the skin protected and the reuse sacrificed knowingly. Resistance always means more soak, never more force. After removal, oil twice a day, bare nails for a day or two, and the day-two assessment before any new set. Damage signs, professional signs, and broken skin send the reader to a professional rather than to a stronger method. That is the complete removal: every rival method, every rival gap, every figure sourced.
What to try first: Check tabs or glue, soak for the full time, and test one nail from the side edge. Good looks like: nails lifting without force, no peeling or white spots, and cuticles calm. If it fails: re-soak, climb one rung, or see a professional — never force it. Learn next: The Best Press-On Nails — the sets, shapes, and wear behind the removal.
Frequently asked questions
- What breaks down press-on nail glue?
- Warm soapy water loosens it, oil under the edges helps it release, and pure acetone dissolves it. No rival guide taught a Vaseline or rubbing-alcohol removal method, so this guide does not present them as removers.
- How do I remove press-on nails without acetone?
- Use the soapy soak or the oil soak: ten to fifteen minutes in warm soapy water, cuticle oil under the edges, lift gently from the sides with a wooden stick, and re-soak ten minutes if any nail resists.
- How do I remove press-on nails with sticky tabs?
- Peel slowly from the side edge and stop at the first resistance. If a nail resists, soak in warm soapy water for five to ten minutes and try again. Tabs removal uses no acetone and preserves the set.
- How long do I soak press-on nails to remove them?
- Ten to fifteen minutes in warm soapy water for most glued sets, plus a ten-minute re-soak if nails resist. Acetone runs ten to twenty minutes in a bowl, or fifteen to thirty under foil. Times are the rivals' reported ranges.
- Can hot water take off press-on nails?
- Warm to hot soapy water loosens the glue, but water alone is half the method: soak time plus oil under the edges and a stick finish it. A quick hot rinse, with no soak, does not remove a glued set.
- Does olive oil remove press-on nails?
- Olive oil is one of the oils the rivals name for the oil soak, with coconut, vegetable, and cuticle oil. Give it ten to fifteen minutes in warm water. No rival cited a study proving oil dissolves glue.
- What oil removes press-on nails?
- Coconut, olive, vegetable, and cuticle oil are all named in the rival record. Cuticle oil is tidiest because it also serves aftercare; olive and coconut are the kitchen options.
- Do press-on nails ruin your real nails?
- Not on their own: dermatologist Joshua Zeichner, quoted by Allure, states press-ons are not inherently damaging when removed properly, and picking or peeling causes the harm. Healthline agrees: ripping or forcing damages nails.
- How long does it take for nails to heal after press-ons?
- Dryness settles in one to two days; surface flaking over one to two weeks of oil and rest. Layers stripped by forcing grow out over months: WikiHow, on nail-artist sourcing, gives six months for full grow-out.
- Can press-on nails be removed immediately?
- Yes, by the same methods with shorter soaks, because fresh glue has cured less. A set applied an hour ago usually lifts after a short soak; the same set a week later needs the full time.
- How do I remove press-on nails so I can reuse them?
- Remove by tabs peel, soapy soak, or oil soak, with no forcing and no acetone: Healthline states acetone will likely ruin the press-ons. Clean each underside, dry fully, store in size order.
- What is the safest way to remove press-on nails?
- The gentlest method that moves the nail without force: soapy soak for most glued sets, oil soak for sensitive nails, slow tabs peel for tabs. Never force, never acetone on broken skin, and see a professional when the ladder is exhausted or a medical sign is present.
- Will rubbing alcohol remove nail glue?
- No rival guide taught a rubbing-alcohol method. WikiHow names it only as a fallback mention beside acetone-free remover. This guide does not present it as a remover.
- Does Vaseline break down nail glue?
- No rival guide taught a Vaseline method. Petroleum jelly appears only as BTArtbox's skin protection before an acetone soak, not as a remover.
- How do I remove press-on nails without damage?
- Soak, do not force. Check tabs or glue, soak the full rival-reported time, oil under the edges, lift from the sides, re-soak on resistance. Then oil twice daily, bare nails a day or two, and the day-two assessment before a new set.